User Manual - Neo Radio (Release 1 – R1)
Read the user manual for Neo Radio and understand how to get Internet Radio channels directly on your B&O products - as well Bluetooth stream.
This user guide is for the product Neo Radio (R1).
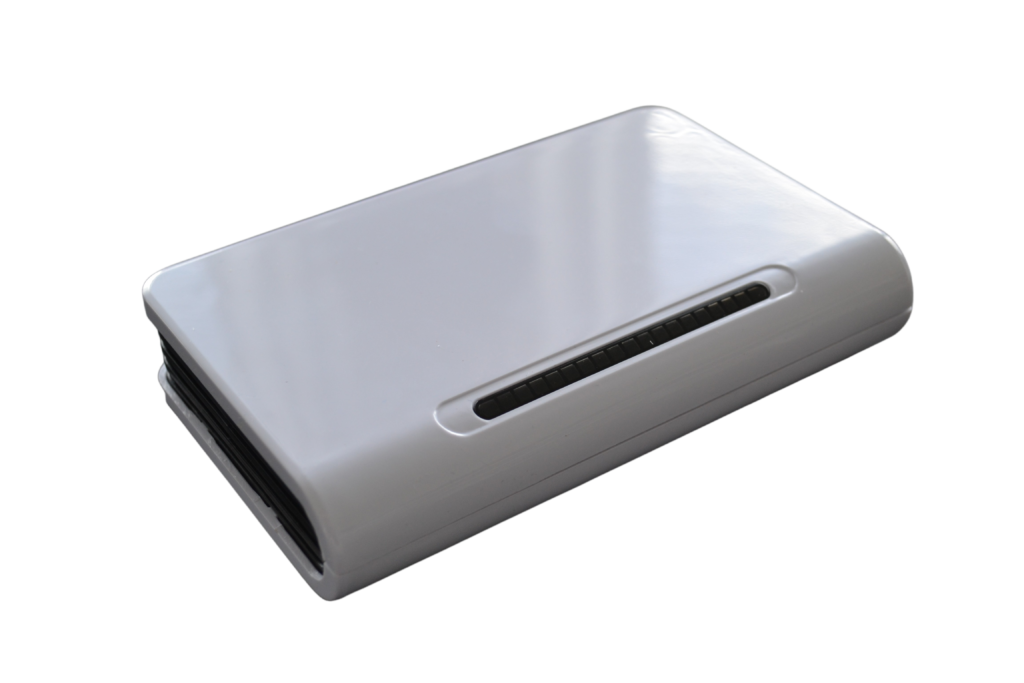
Introduction
Neo Radio provides Internet Radio on B&O products (BeoSound, BeoMaster, BeoCenter). In addition, there is a connection to a B&O gramophone and finally you can Bluetooth stream from mobile devices.
Safety
In order to comply with safety and not cause any damage to physical products or people, the following must be respected.
- Check immediately that the packaging is not damaged and Neo Radio is not damaged. Do not use the product if it is damaged. Contact your supplier.
- Dispose of the packaging in accordance with the applicable regulations where you live.
- Use only the supplied AC/DC supply
- Use only approved cables
- Do not insert objects other than approved cables into plugs and holes
- Do not disassemble the product or modify the product.
- Do not subject the product to strong shocks or vibrations
- Stop using the product if you see smoke or experience a strange smell from the product
- Do not use organic solvents such as alcohol, benzine or paint thinner to clean the product.
- Do not wet the product with any means.
- Periodically remove dust from the product with a dry cloth.
- Do not wrap the product in fabric or adhesive so that the product cannot receive fresh air.
- Do not insert your fingers into open connectors or other openings in the product
Environmental considerations
If Neo Radio is no longer functional or is no longer to be used, it must be disposed of in a responsible manner. Hand it in for recycling in your municipality so that the product's parts can be recycled or destroyed properly.
Contents of the package
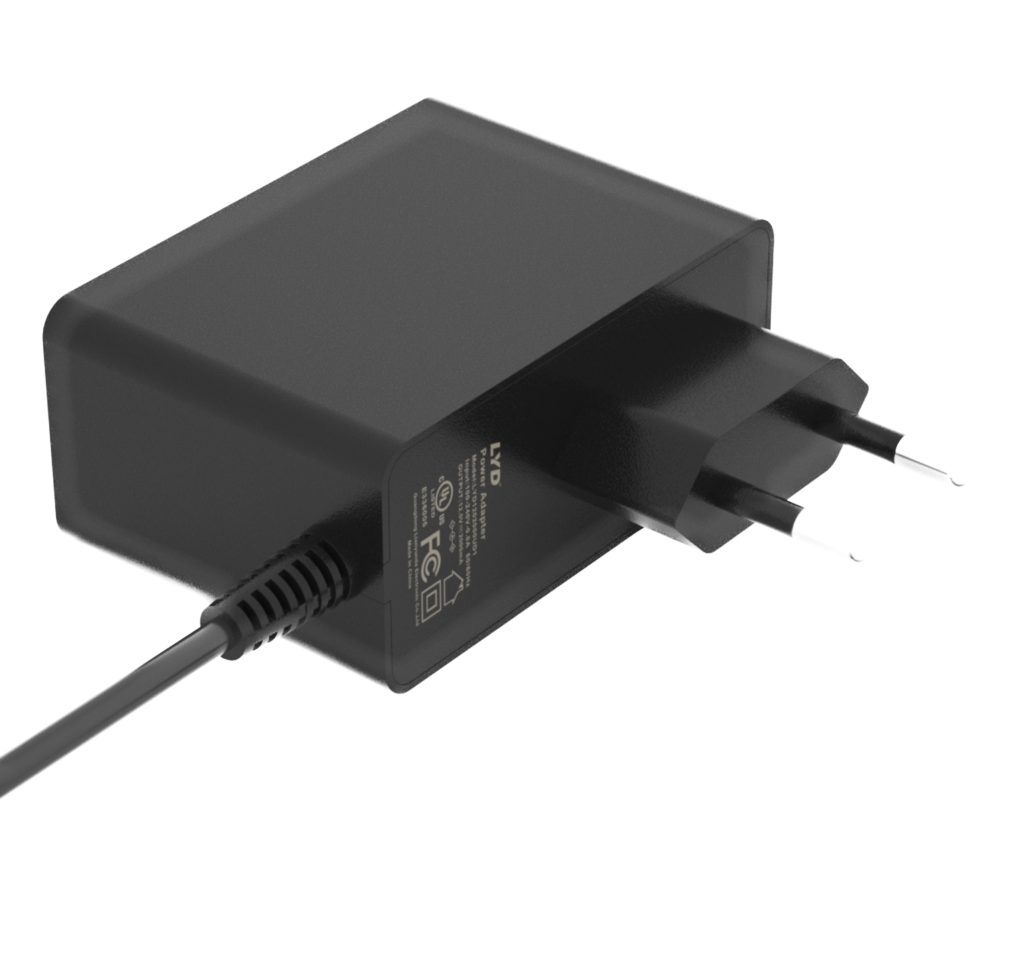
Before installing the product, check that the package contains a Neo Radio with a 12V power supply.

Not included
- Antenna cable between Neo Radio and the B&O product
- Network cable for the Internet
- Power Link cable
- AUX cable
These cables can be purchased at Neo Shop
Connecting cables between Neo Radio and B&O equipment
Do not connect the included power supply until all other cables have been installed.
Before use, it must be ensured that all installed cables are not damaged or have visible external damage.
Neo Radio requires a stable Internet connection to work optimally. If the Internet connection is not stable or the speed is too low, you will experience disturbances in the sound. It must therefore be ensured that there is a stable and wired connection to the router in the house.
Neo Radio does not work with a wireless WiFi connection, as this connection is often too unstable for uninterrupted music.
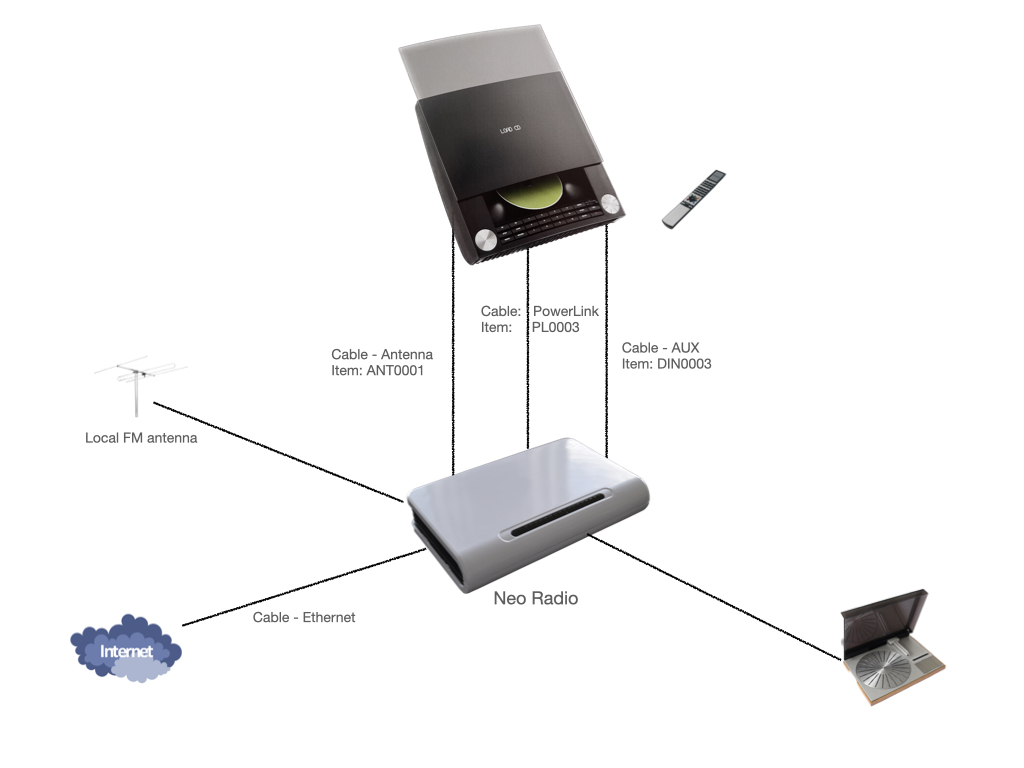
The following cables must be connected:
1 – Connect an antenna cable between Neo Radio and your B&O product
2 – Connect a fully assembled Power Link cable between Neo Radio and your B&O product
3 – If you want to use a gramophone via the AUX input on your B&O product, you must also connect an AUX cable between Neo Radio and your B&O equipment.
4 – If you want to listen to FM channels in your local area (if it is not available as an Internet channel), you must also connect your local antenna to Neo Radio.
The B&O gramophone can be connected in two ways. Read about this later.
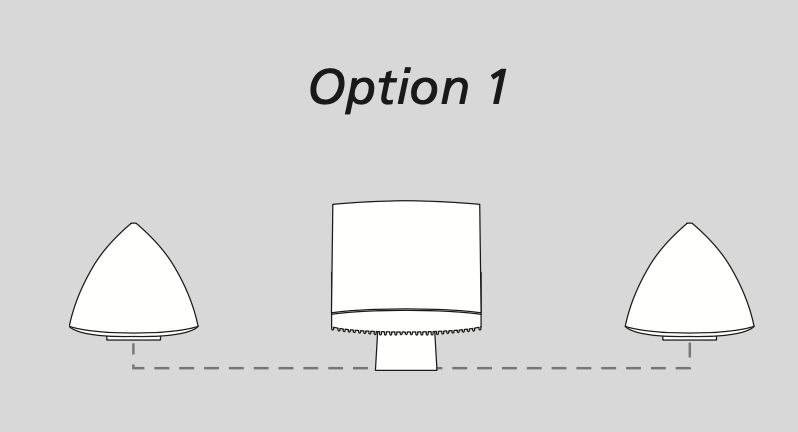
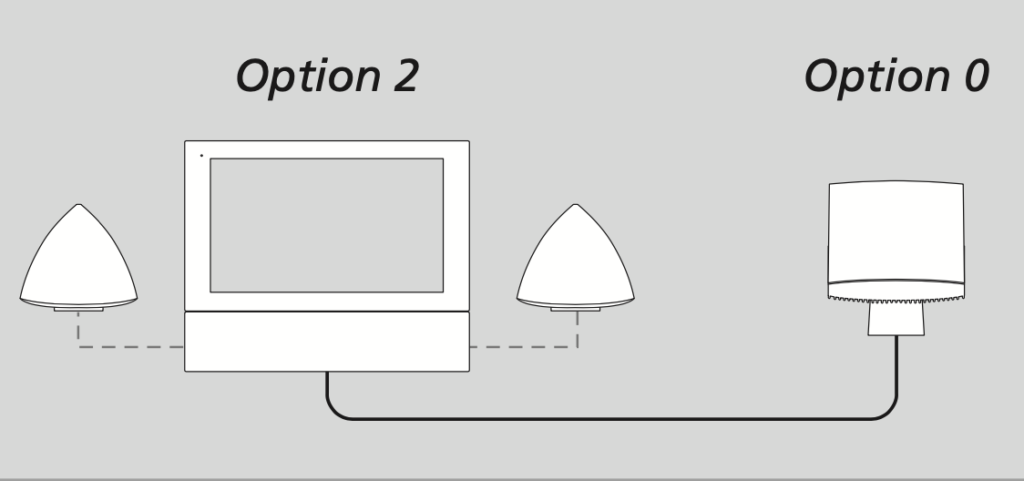
Here is a B&O Audio product where the speakers are connected to the Audio product.
Disconnect the Power Link cable Neo Radio connect to the audio product's power link connector.
Here a setup with both Audio and Video products is in the same room, where the speakers are connected to the Vide product.
Power link cable off Neo Radio connected to the power link on the Video product. .
Preparation of the B&O product
Neo Radio uses the FM receiver on the B&O product. The FM receiver must therefore be set up before use.
If you have a B&O product with 20 fixed FM channels, each channel must be set to 90.0 MHz. Consult the B&O manual for help setting the FM channel at 90.0 MHz.
It only needs to be done once and is a tedious process, but necessary. If you have a B&O product with 99 fixed channels and want to use 99 Internet channels, it is a difficult process, but it only has to be done once in connection with setup. We're sorry, but that's the setup.
Daily use of Neo Radio and the B&O product
When all the cables have been connected and the setting of the fixed FM channels has been completed, the products are ready for daily use.
Internet Radio
To listen to Internet Radio on the B&O product, press RADIO on the B&O remote control or press RADIO on the B&O product.
Select channel number 1 for example 20 or 99 - depending on how many fixed channels your B&O product has.
Neo Radio comes with 10 fixed channels installed - which can be changed to own channels.
Start by listening to these channels to test the setup. When everything is installed correctly, the time has come to set your own channels.
To set up your own channels, you must use the welcome letter (which was in the packaging when unpacking). Here is the Username and Password to log in NeoRadio.net. Save the welcome letter so that you remember the login data.
Login to Neoradio.net and make your change in the channel setup so that it fits exactly to your wishes.
When you have made a change, press Standby on the B&O product and switch on the Radio again. Hereby updating Neo Radio for your setup i NeoRadio.net - important to get the new channel list setup.
Bluetooth streaming
Neo Radio supports Bluetooth streaming from mobile devices. For example, it is possible to stream from
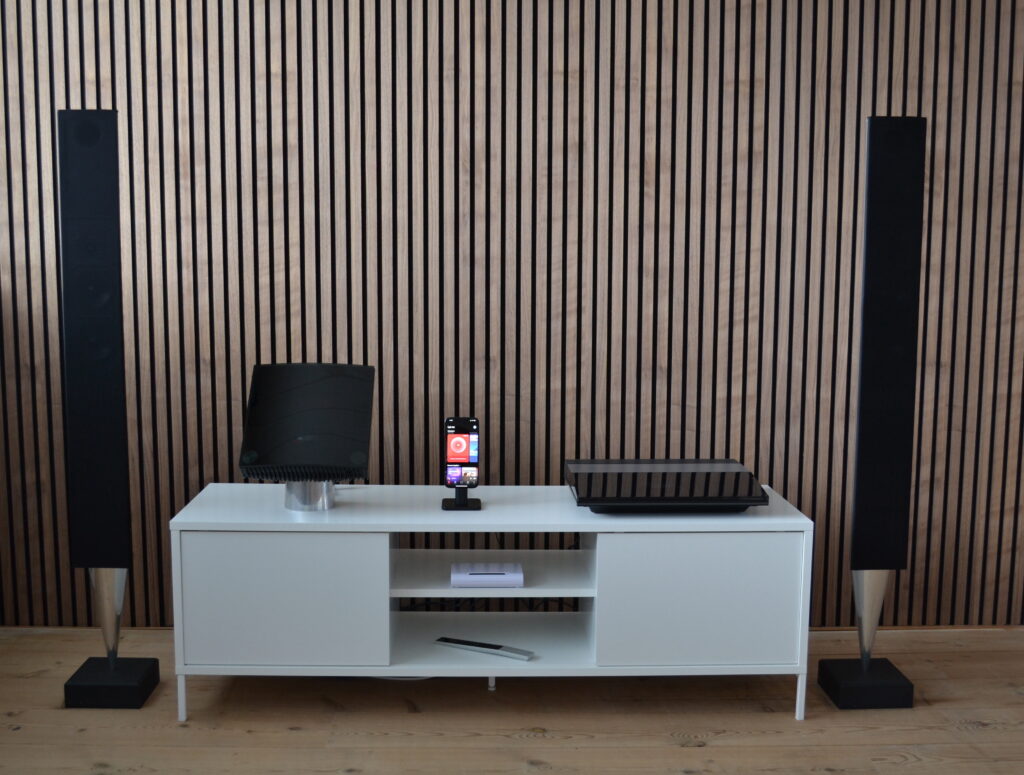
The best solution is to permanently mount an older mobile phone or an older iPad, which is permanently at the B&O facility. This makes it easy to use in everyday life.
Neo Radio supports Bluetooth (version 4.2), which gives you stable music streaming at high speed.
Choose Neo Radio of Bluetooth list on your mobile device. Search for Bluetooth devices in Settings on your mobile device. The name NeoRadio appears in the list.
Neo Radio comes set up with 10 fixed channels. Here is Bluetooth selection on FM channel 9. It can be changed to another channel, e.g. channel 1 or channel 20 via NeoRadio.net the setup.
Therefore, on the B&O product, select – RADIO – 9 (or whichever channel you have selected in the setup)
Gramophone
Neo Radio supports connection to a B&O gramophone. Neo Radio has a built-in RIAA amplifier, so please check that a gramophone without RIAA amplifier is used.
It is possible for Neo Radio to play the B&O gramophone in two ways:
A – Connect the gramophone to the input “Turntable” on Neo Radio. Select in the setup of NeoRadio.net, which FM channel gramophone should be played through.
(This function will come later in a software update)
B – Connect the gramophone to the input “Turntable” on Neo Radio. Connect a DIN 5 pole AUX cable between Neo Radio (AUX connector) and the B&O product (AUX connector). To play the gramophone, the AUX input on the B&O product must be selected.
Software update
Neo Radio can update the software via the connected Internet cable.
To update the software, do the following:
– Check that a fully assembled Power Link cable is connected between Neo Radio and your B&O product.
– Check that an Internet cable is connected Neo Radio with connection to the Internet.
– Put your B&O product in Stand-by with the remote control or on the B&O product directly.
– Briefly press the small button on Neo Radio – the button is located between the Local antenna and the AUX socket.
| Step | OK | Fejl |
|---|---|---|
| 1 | You will hear BEEP BEEP (two times BEEP) if the command was received correctly | If you hear a long BEEP tone, an error has occurred - try again |
| If you hear BEEP BEEP (two times BEEP), no new software has been found. You continue to run with current software | ||
| 2 | You will now hear BEEP (single BEEP) if new software has been found. The download starts and updates automatically | |
| 3 | Finally, you will hear BEEP BEEP (twice BEEP) as confirmation that the update went well. You now have the latest software installed |
Technical help
If a technical problem occurs with Neo Radio you must try to remedy the error yourself before contacting the place of purchase.
You can also read more at Neomesteren Homepage - www.neomesteren.dk

